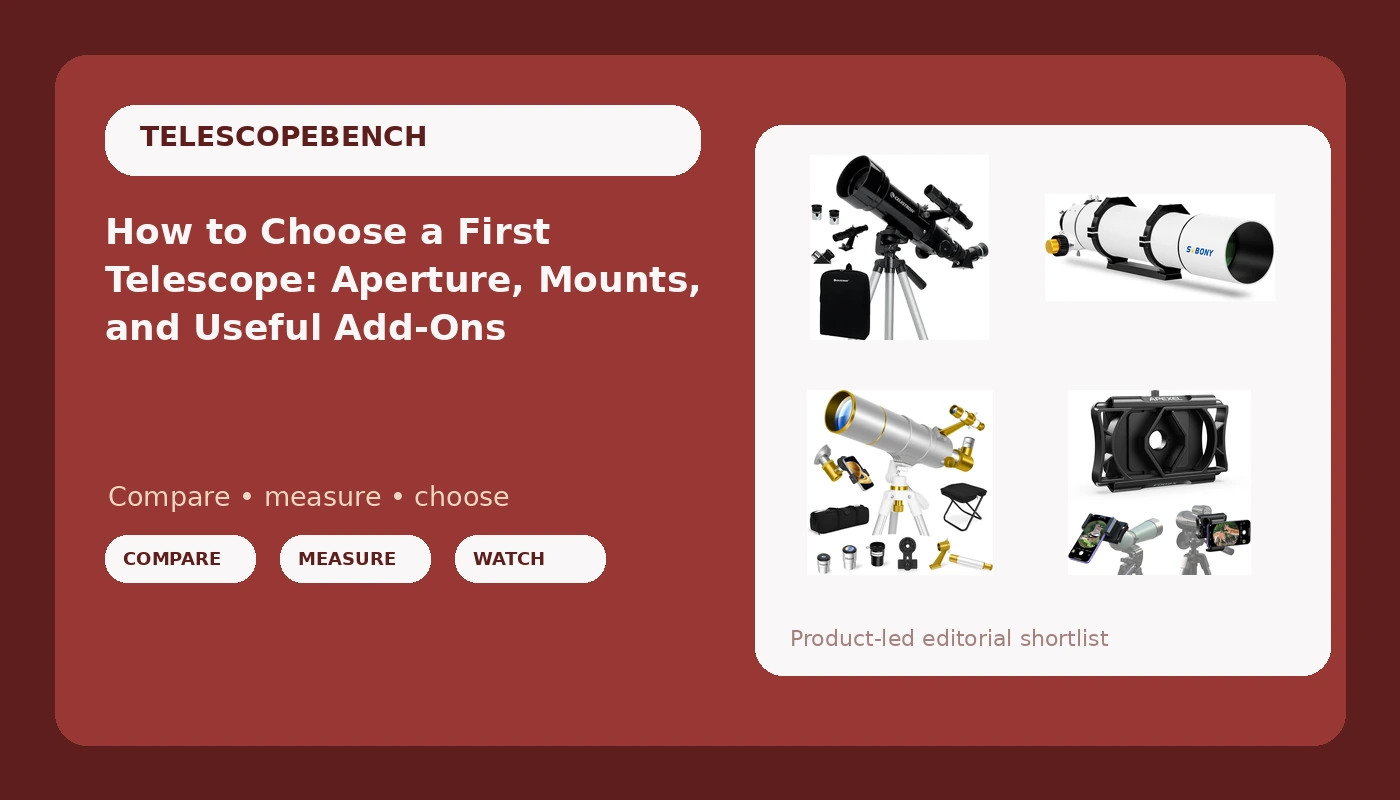
Buying a first telescope is mostly a decision about two things the box never advertises: how wide the main lens or mirror is, and how steady the tripod underneath it is. A beginner telescope setup lives or dies on those two numbers, and the packaging usually distracts from both with a big magnification figure that a small scope cannot honestly deliver. This guide explains what aperture, focal length, and mount stability actually mean for the view at the eyepiece, then looks at four specific products at different points on the cost and complexity curve: a 102mm refractor, a 90mm starter scope that ships with a stool, a 70mm travel scope with a backpack, and a phone adapter that turns a scope you already own into something you can photograph through.
Related: Telescope Mounts Explained: Why Stability Beats Magnification →
Quick answer
For most people observing from a backyard, a driveway, or a park within walking distance, a refractor in the 90mm to 102mm range on a tripod that settles quickly is the most usable starting point, because aperture sets how much light you collect and the mount sets whether that light arrives as a steady image. A 70mm scope earns its place when carrying the telescope somewhere darker is the deciding factor, and a phone adapter is the least expensive way to get more out of a scope you already have. There is no single right answer here: the telescope that gets used is the one you are willing to carry outside and set up on an ordinary weeknight.
Four useful options
| Model | Best fit | What stands out |
|---|---|---|
| SVBONY SV48P Telescope for Adults High Powered, 102mm Large Aperture F6.5 | Adults who want the largest aperture in this group | 102mm aperture with a fast f/6.5 focal ratio |
| Celestron Travel Scope 70mm Beginner Portable Telescope with Backpack | Observers who need to carry the scope to a darker site | 70mm refractor that packs into a supplied backpack |
| UncleHu 90mm Aperture 600mm Telescope for Adults Astronomy &Kids with Stool | Families and younger observers who want a seated setup | 90mm aperture, 600mm focal length, stool included |
| Telescope Phone Adapter, Upgraded Rotatable 360° Binocular Photo Adapter | Anyone who wants to photograph what they see | Rotatable 360 degree phone holder with a Bluetooth shutter |
The largest aperture here: SVBONY SV48P Telescope for Adults High Powered, 102mm Large Aperture F6.5
Aperture is the diameter of the main lens, and it is the spec that governs both how faint an object you can detect and how much fine detail the optics can resolve. Going from 70mm to 102mm is roughly a doubling of light-collecting area, which matters most on the targets beginners care about: the Moon, Jupiter, Saturn, the Orion Nebula, and the brighter star clusters. The trade-off is size and weight. A 102mm refractor is a tube you mount deliberately, not something you toss in a daypack, and it needs a tripod rated for its weight rather than the lightest one in the closet.
The travel option: Celestron Travel Scope 70mm Beginner Portable Telescope with Backpack
Seventy millimeters will show lunar craters, Saturn's rings at modest power, Jupiter's four bright moons, and the larger open clusters. What it will not do is compete with a 102mm scope on faint galaxies or on splitting tight double stars. The reason to accept that trade is mobility: a scope that lives in a backpack is a scope that reaches a genuinely dark sky, and a dark sky does more for most deep-sky objects than two extra centimeters of aperture in a light-polluted backyard. If your observing happens mostly from a balcony or a suburban driveway, the aperture matters more than the backpack.
The family option: UncleHu 90mm Aperture 600mm Telescope for Adults Astronomy &Kids with Stool
The stool is not a gimmick. The single most common reason a shared family scope ends up unused is that children cannot reach the eyepiece comfortably, and a seated observer bumps the tripod far less than someone leaning over it. A 600mm focal length also means a short tube, which is easier to keep steady and easier to point at a target overhead. The limit is the same as with any 90mm instrument: it is a Moon-and-planets scope first, and a deep-sky scope second, with the brighter clusters and nebulae as realistic targets.
The add-on: Telescope Phone Adapter, Upgraded Rotatable 360° Binocular Photo Adapter for Android & iPhone, Smartphone Holder Mount for Telescope, Monocular, Binocular, Spotting Scope, Microscope with Bluetooth Shutter
Adapters like this one solve a specific problem: holding a phone steady against an eyepiece by hand is nearly impossible, and the Bluetooth shutter removes the vibration of tapping the screen. Expect a learning curve. You have to center the eyepiece in the phone's field of view, then focus the telescope, then focus the phone, and the process is fussy the first few times. It is a sensible purchase for someone who already owns a scope and wants to show friends what they saw, and a questionable first purchase for someone who does not yet own a telescope at all.
Prices and availability may change. Product images, names, and retailer links must be matched by verified ASIN. Do not state a current price, rating, stock status, or measured result without current evidence.
Why aperture matters more than magnification
Magnification is not a property of a telescope. It is a relationship between two numbers: the telescope's focal length divided by the focal length of the eyepiece you put in it. Change the eyepiece and you change the magnification, which is why the "power" printed on a box tells you almost nothing about what the instrument can actually show.
What limits the useful magnification is aperture. A larger objective gathers more light and resolves finer detail, and there is a practical ceiling of roughly 50x per inch of aperture under average seeing conditions, less when the atmosphere is turbulent. Push a small scope past that ceiling and the image does not get bigger in any useful sense. It gets dimmer and softer, because you are magnifying blur.
Two consequences follow. First, a scope advertised at an extreme magnification number is a scope whose marketing is aimed at the wrong specification. Second, the eyepiece that ships with a telescope is a starting point rather than a finished kit, and replacing one modest eyepiece with a better one is often the largest single improvement available to a beginner. Focal ratio matters too: a fast f/6.5 refractor produces a wider field of view at a given eyepiece than a slow f/11 instrument, which makes finding objects by hand considerably easier.
The mount is the telescope
A telescope is an optical tube plus a mount, and the mount is where most beginner disappointment originates. A steady image at 100x requires a tripod that stops vibrating almost immediately after you touch the focuser. If it wobbles for two seconds every time you adjust focus, you will spend the session chasing a blur instead of looking at a planet.
Refractors hold their alignment permanently, which is one reason they suit beginners: there are no mirrors to adjust before observing. Reflectors and compound scopes need collimation, the alignment of the optical elements, and an out-of-alignment scope produces soft, smeared views no matter how good the optics are.
Before you buy anything, work through these steps:
- Decide where you will actually observe most often, and let that location pick the aperture. A dark backyard favors the largest tube you can carry out in one trip; a fifth-floor apartment favors a compact 70mm.
- Measure the storage space you are willing to give up. A telescope that has no home near the door is a telescope that stays indoors.
- Check the tripod in the listing before the optics. Look for a mount described as holding the tube firmly, and treat any thin aluminum tripod bundled with a large tube as a warning sign.
- Budget for one better eyepiece and a star chart. A planisphere or a printed guide teaches the sky faster than a computer that finds objects for you.
- Only then consider a phone adapter or other accessory, because accessories improve a working setup and cannot rescue one that never gets used.
What to do on your first clear night
- Set the telescope up indoors or in daylight first, so you are not learning the mount in the dark.
- Let the scope reach outdoor temperature before you judge the optics. A warm tube in cold air produces a soft image for the first while.
- Align the finder during the day on a distant tree or rooftop. A misaligned finder is the most common reason a beginner cannot find anything.
- Start with the lowest magnification eyepiece you own, find the target, then work up. High power is for confirming detail, not for locating objects.
- Give your eyes 20 to 30 minutes in the dark before judging a faint object, and use a red light if you need to read a chart. Dark adaptation is real and it is slow.
- Observe from grass rather than concrete where you can, and keep the tripod low. Vibration travels through hard ground and through an extended center column.
Which option should you choose?
Choose the SVBONY SV48P Telescope for Adults High Powered, 102mm Large Aperture F6.5 when you observe from a fixed location and want the largest aperture and the finest detail in this group. Choose the Celestron Travel Scope 70mm Beginner Portable Telescope with Backpack when the scope has to travel to a dark site and packing it away is the difference between using it and not. Choose the UncleHu 90mm Aperture 600mm Telescope for Adults Astronomy &Kids with Stool when the telescope will be shared with children and a seated, reachable eyepiece matters. Choose the Telescope Phone Adapter, Upgraded Rotatable 360° Binocular Photo Adapter for Android & iPhone when you already own a scope or binoculars and want to capture what you see without buying a camera.
The specifications here come from manufacturer listings, and this guide does not include measured optical performance, stability timings, or image quality results for any of these products. Prices, bundles, and availability change frequently, so confirm the details on the retailer listing before you buy, and check that the eyepiece and mount included in the box match what you expect.
The bottom line
Aperture and mount stability decide what you see, and magnification is a number you calculate rather than a number you buy. For a first telescope, pick the largest aperture you will genuinely carry outside and set up on a weeknight, put it on a mount that stops shaking when you let go, and plan on replacing the bundled eyepiece at some point. If you already own a scope and it is gathering dust, a phone adapter and a decent star chart are a cheap way to make it interesting again. The instrument that gets used is the one that teaches you the sky, and that is the only specification that ultimately counts.