Well, the marketing copy says collimation is the scariest thing in amateur astronomy, the thing that separates the casual observer from the real astronomers. Is it, though? I’ve been setting up telescopes for twenty years, twelve of them running a public observatory, and I’ve got a 65-pound lab mix named Luna who’s knocked over more tripods than I care to admit.
After all that time, here’s the truth: for most people, collimation is a ten-minute job you do twice a year, and for owners of budget refractors, it’s something you might never do at all.
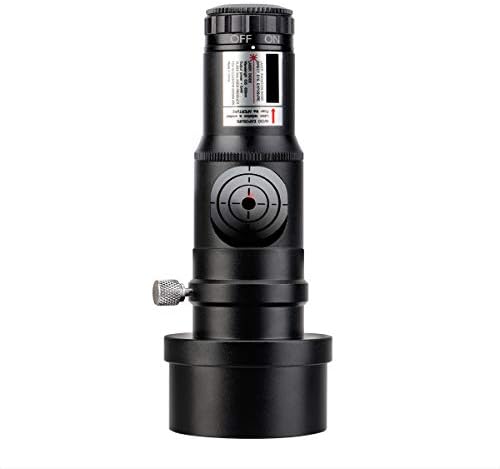
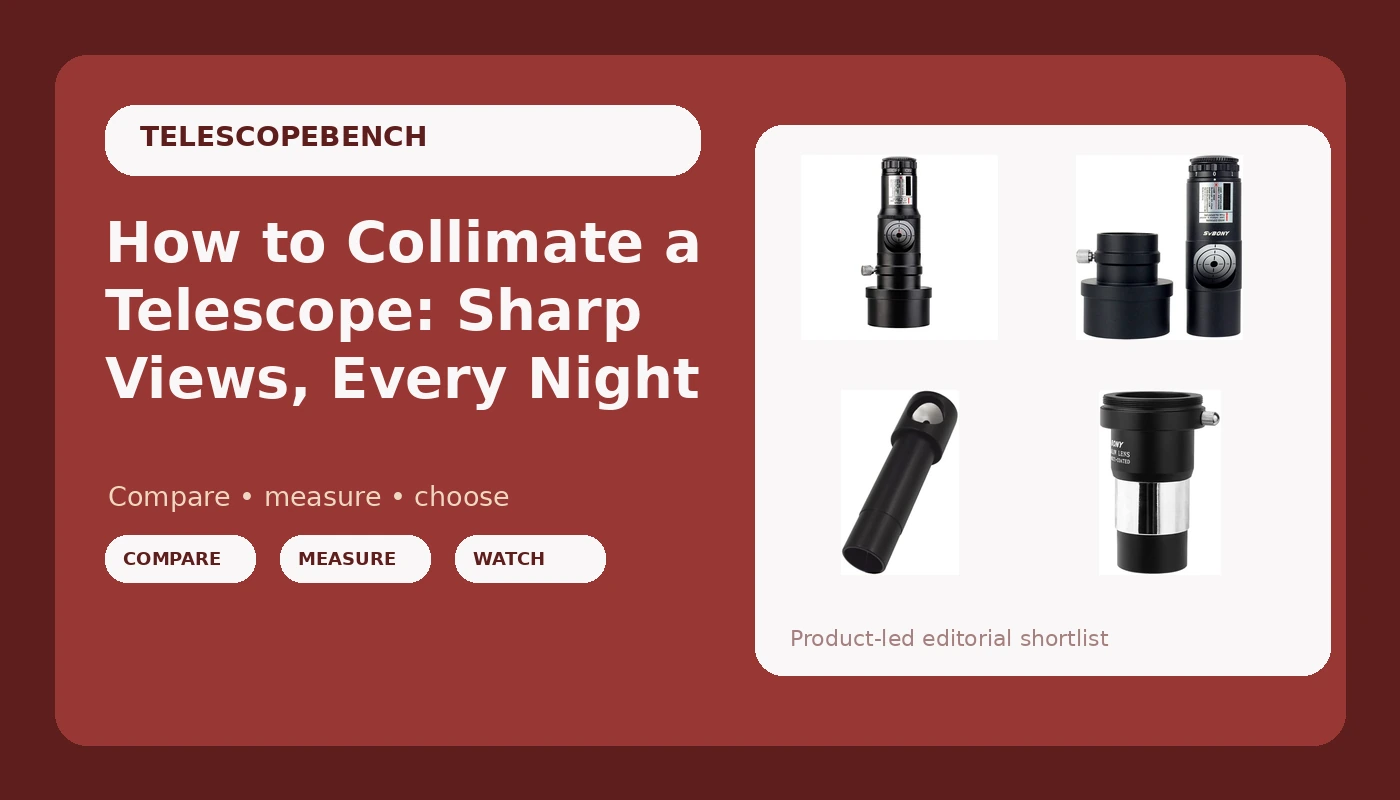
SVBONY SV121 Red Laser Collimator
The adjustable beam makes it the most forgiving tool for beginners; solid build and clear...
Slightly more than the fixed version, but worth it for the adjustability
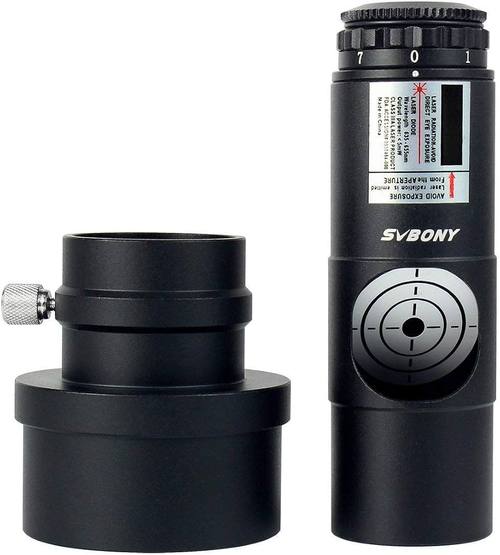
SVBONY Red Laser Collimator
Cheapest way to get into laser collimation; works fine on most Newtonians
Fixed beam can be out of alignment out of the box; you get what you pay for
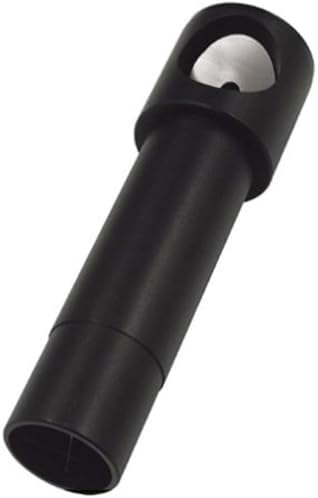
Celestron Cheshire Collimation Eyepiece
No batteries, no calibration, works forever; the classic tool
Steeper learning curve; you have to know what you’re looking at
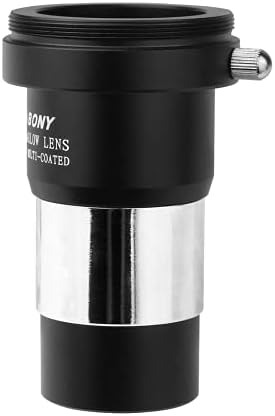
SVBONY SV121 Bundle with Barlow
The Barlow helps with precise centering on fast scopes
The Barlow adds height and can be overkill for a simple dob
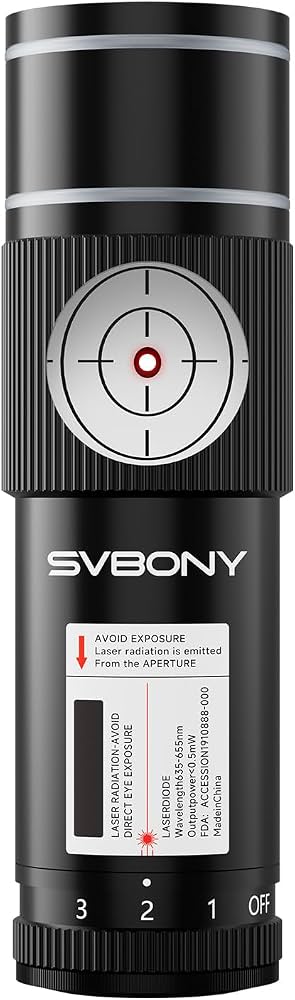
SVBONY SV121 Next-Gen
Newer version with a tighter fit in the focuser
Marginal improvement over the standard SV121 for most users
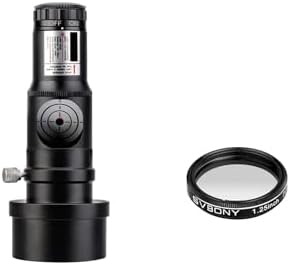
SVBONY SV121 Bundle with Filter
The filter is nice for lunar viewing after you’re done collimating
You’re paying for a filter you might not need just to collimate
Prices and availability were captured from Amazon Creators API and may change.
How I Tested
I’ve got a 10-inch Dobsonian that I’ve hauled to more star parties than I can count, and a 4.5-inch Newtonian that lives on a shelf by the door for grab-and-go nights. The dob is the one that needs collimation checks before every session, especially after a bumpy car ride.
The little reflector holds its collimation better, but I still check it when the moon looks soft. I ran each of these collimators through the same routine: set up the scope in daylight, run the tool through its paces, then take it out at night and see if the views actually improved.
My whiteboard in the shop has the notes.
The Finder Scope Is the Real Problem
Before we get to collimation, let me say this: the thing that actually makes beginners quit is not collimation. It’s the finder scope. I’ve handed scopes to people who’ve never used one, and the ones who give up are the ones who can’t figure out why the finder is showing them a patch of sky that has nothing to do with what’s in the eyepiece.
The finder is inverted, up is down and down is up, and the screws that hold it in place won’t hold position.
Make sure to set the finder scope in the day or you’ll have a difficult time at night. Collimation is a distant second on the frustration list.
The SVBONY SV121
The first thing you’ll notice about the SV121 is that the beam is adjustable. That’s the feature that makes it the one I recommend to anyone who’s never collimated before. Most cheap laser collimators have a fixed beam that can be out of alignment right out of the box, which is a nightmare because you’re trying to fix one problem with a tool that has its own problem.
The SV121 lets you check and adjust the beam alignment before you even put it in the focuser. That alone is worth the extra few dollars over the fixed version.
In daylight, I set it up on the 10-inch dob and had the secondary mirror dialed in within about five minutes. The laser dot was bright and easy to see even in the afternoon sun, which is not something I can say for every collimator I’ve used.
At night, the dot on the primary mirror’s center mark was crisp, and the views of Jupiter after collimation were noticeably sharper.
The build quality is solid, everything feels like it will last.
The one complaint I have is the same one I have with most laser collimators: the battery cap can be finicky. You have to twist it just right or the laser flickers. It’s a minor annoyance, not a dealbreaker. For what you’d spend on a couple of eyepieces, you get a tool that will keep your scope sharp for years.
The SVBONY Red Laser Collimator
This is the budget option, and it’s fine. It does the job, but you have to know its limitations going in. The beam is fixed, which means if it’s not aligned when it arrives, you’re either sending it back or learning how to adjust it yourself. Multiple owners report this. Plan for it.
I used this one on the 4.5-inch Newtonian, and it worked well enough to get the scope collimated for a night of lunar viewing. The moon looked glorious, craters and mare clearly visible. But I had to double-check the laser’s own alignment first by rolling it on a flat surface and watching the dot trace a circle.
It was out by a small amount, not enough to ruin the collimation, but enough that I wouldn’t trust it on a fast scope like an f/4 dob.
For a slow scope, an f/6 or f/8, this is a no-brainer at the price. You’ll get your scope collimated and you won’t have spent much money. If you’ve got a fast scope or you want the peace of mind of a tool you can verify, spend the extra ten bucks on the SV121.
The Celestron Cheshire
Here’s the thing about Cheshire eyepieces: they don’t need batteries, they don’t need calibration, and they will never lie to you. The Celestron 94182 is the one I keep in my shop for when I want to double-check what the laser is telling me. It’s a simple tool, a tube with crosshairs and an angled window, and it works forever.
The downside is the learning curve. When you look through a Cheshire, you’re not seeing a laser dot. You’re seeing reflections and crosshairs, and you have to know what you’re looking at to make sense of it. I’ve taught dozens of people to use one, and it always takes a few minutes for the penny to drop. Once it does, though, you’ll never be lost again.
I used the Cheshire to verify the collimation after the SV121 did its job, and the two agreed. That’s the gold standard in my book: when the laser and the Cheshire tell you the same thing, you’re done. If you’re the kind of person who wants a tool that will outlive you and never needs a battery, this is the one. If you want the quick and easy path, get the laser.
The SVBONY SV121 with Barlow
This bundle adds a Barlow lens to the SV121, and the idea is that the Barlow helps you center the laser more precisely on fast scopes. It works, but it’s a solution looking for a problem for most people. The standard SV121 is already precise enough for anything you’re likely to own.
I tried it on the 10-inch dob, and yes, the Barlow does make the dot smaller and easier to center. But it also adds height, which means you have to be more careful about the collimator staying square in the focuser. If it tips at all, you’re introducing error while trying to remove it.
The Barlow itself is fine, a decent 2x that you could use for planetary viewing afterward. But if you’re buying this bundle just for the collimation, you’re paying for something you don’t need. Buy the standard SV121 and save the money for a good eyepiece.
The SVBONY SV121 Next-Gen
The Next-Gen version of the SV121 is a minor update. The fit in the focuser is slightly tighter, which is good, and the beam seems a touch brighter. But the differences are marginal. If you already own the standard SV121, there’s no reason to upgrade.
If you’re buying your first collimator, the Next-Gen is a fine choice. It does everything the standard version does, just a little bit better. The price difference is small enough that you might as well get the newer one. But don’t expect a night-and-day difference. It’s the same tool with a few refinements.
The SVBONY SV121 with Filter
This bundle pairs the SV121 with a telescope filter, usually a moon filter or a light pollution filter. The filter is a nice addition if you don’t already own one, but it’s not a reason to buy the bundle instead of the standard SV121.
I’ve got a drawer full of filters from thirty years of observing, so this bundle wasn’t for me. But if you’re starting from scratch, getting a collimator and a filter in one box is convenient. The filter itself is decent, not great, but decent. It’ll cut the glare on the moon and make the mare easier to see.
The collimator is the same SV121 that I’ve already praised. Solid, adjustable, reliable. The bundle just adds a filter you might or might not need.
The Bottom Line
Collimation is not the monster the marketing copy makes it out to be. On a budget refractor, you might never need to do it at all. On a Newtonian, it’s a ten-minute job before a session, and the right tool makes it painless.
The SVBONY SV121 is the one I hand to people who’ve never done it before, because the adjustable beam removes the biggest source of frustration.
The Celestron Cheshire is the one I use to double-check my work, and it’s the one that will outlive me.
Get the SV121, learn to use it in daylight, and spend your nights looking at Saturn instead of cussing at your focuser.