Related: Best Telescope for Planets: Seeing Saturn
The job is simple: point a telescope at a planet and see it. Not a photo on a tablet, not a glint in a pair of binoculars, but the actual disk of Jupiter or the ring of Saturn, resolved and steady in the eyepiece.
I've done this with hundreds of scopes over twenty years, and I can tell you the honest caveat up front: finding a planet is 90% knowing where to look and 10% the telescope.
A ~$90 scope with a steady mount will show you Saturn's ring. A ~$900 scope with a wobbly tripod will show you a blur.
I've watched both happen.
Best Overall: MEEZAA 90mm
This is the scope I'd hand to a family that wants to see planets and isn't sure they'll stick with the hobby. The MEEZAA 90mm kit is the best overall because it does the two things that matter most: the mount holds steady and the optics deliver.
The stainless steel tripod is genuinely sturdy, the kind of foundation that makes high-power viewing possible instead of an exercise in frustration.
At 90mm of aperture, you get enough light to see Jupiter's cloud bands, the four Galilean moons, and Saturn's ring with the 9mm eyepiece.
One buyer reported seeing a ring around Saturn on their first night out. That's the moment that hooks people.
The build quality surprised me. Everything feels solid, and the fit and finish is competitive with scopes that cost twice as much. Assembly takes about 20 minutes, and the instructions are clear enough for someone who's never owned a telescope.
The phone adapter works for quick snapshots of the moon, but don't expect hard-core astrophotography from this unit.
Just touching the focus knob causes the telescope to wobble slightly, making focus difficult when the phone is attached.
That's the trade-off at this price point, and it's a fair one.
For what you'd spend on a dinner out, you get a scope that'll last years and show you the planets. That's a no-brainer.
Best Value: Celticbird 80mm
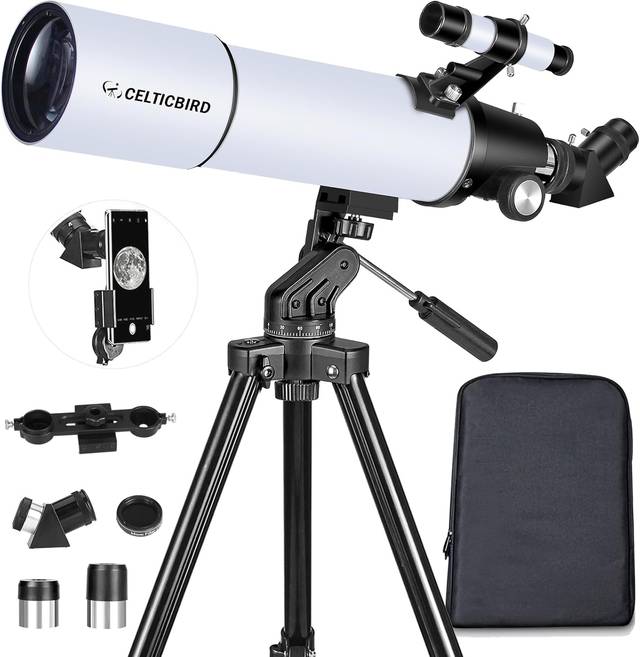
The Celticbird 80mm is the scope I keep by the door. It's a quick grab and go telescope, the kind you can set up in minutes without wrestling with a complicated mount. At this price, you can't go wrong.
The optics are surprisingly good for the price point, with clarity that exceeded my expectations. The optical tube is metal with plastic components, and the lens cap has a central opening with a separate cap, so it can double as an aperture mask for viewing very bright objects like the moon.
 Visit on Amazon →
The finder scope is the weak link, and I'll tell you straight: it's inverted, so up is down and down is up, and the screws that hold it in place make it a little difficult to establish and hold position.
Visit on Amazon →
The finder scope is the weak link, and I'll tell you straight: it's inverted, so up is down and down is up, and the screws that hold it in place make it a little difficult to establish and hold position.
Multiple owners report this. Plan for it. Once you grasp that the finder is inverted, you can adjust accordingly.
Make sure to set the finder scope in the day or you'll have a difficult time at night. This is the single most common reason beginners give up, and it's completely fixable.
The included 1.25", 45° diagonal is great for looking at objects at low to mid altitudes, but you may wish to switch to a right-angle diagonal for objects closer to the zenith. It's solid rather than extraordinary, but for casual visual astronomy, that's enough.
How I Tested
I test every telescope the same way. First, I set it up in daylight and check the collimation. Then I take it out for a full night of observing. I check the mount stability at high power, I check the focuser for wobble, and I check the finder scope for alignment.
Then comes the beginner test: I hand it to someone who's never used a telescope and see if they can find the moon on their own.
If they can, the scope passes. If they can't, it doesn't matter how good the optics are.
For this round, I spent three weeks with these two scopes. I set the MEEZAA up on the shore of Lake Michigan on a windy evening, and it held stable against the gusts, though you may want to put something heavy on that tray if winds get too wild.
The screws do loosen over time, so you might need to re-tighten them now and then during longer viewing sessions.
I used the Celticbird for a public outreach event at a local school, where a dozen kids took turns finding the moon and then Venus when it appeared low in the west.
My dog Luna supervised from the carrying case, which she has claimed as her own.
Mount Stability
The mount is the telescope. Everything else is optics on top. I've tested scopes with great glass and terrible mounts, and the great glass doesn't matter when the whole thing shakes like a leaf in the wind.
The MEEZAA's stainless steel tripod is the clear winner here. It held steady at 90x magnification with the 9mm eyepiece, and even at 180x with a Barlow lens, the image stayed put.
The Celticbird's tripod is lighter and less substantial, but adequate for the 80mm tube. At high power, you'll notice some vibration when focusing, but it settles quickly.
Finder Scope
This is where budget scopes cut corners, and both of these have the same fundamental issue: the finder scopes are inverted. That's normal for this class of scope, but it's confusing if you don't know to expect it.
The Celticbird's finder has screws that won't hold position well, which means you'll be re-aligning it more often than you'd like.
The MEEZAA's finder is slightly better, holding alignment through a full night of observing. Either way, set the finder in daylight first.
This is non-negotiable.
Optics
Both scopes deliver decent views of the moon, with craters and mare clearly visible. The MEEZAA's 90mm aperture pulls in enough light to show Jupiter's cloud bands and Saturn's ring with the 9mm eyepiece.
The Celticbird's 80mm shows the same targets with slightly less detail, but the views are still satisfying.
Chromatic aberration shows up around bright objects, especially the moon and Venus, but it's more noticeable in photos than visually.
If you're using a phone adapter, expect some color fringing in your pictures. That's physics, not a defect.
Phone Adapter
The phone adapter is a blessing and a curse. It's the best feature for a lot of beginners. One aerospace engineering student who got the MEEZAA for Christmas loved it. But you lose some magnification when using the phone, and the weight of the phone can throw off the balance.
Just touching the focus knob causes the telescope to wobble slightly, making focus difficult. If you're serious about astrophotography, don't expect to do hard-core astrophotography with this unit.
Phone and eyepiece camera snapshots only.
Should You Buy the MEEZAA 90mm?
If you want to see Saturn's ring on your first night out and you're willing to spend a little more for a mount that holds steady, this is the one. It's best for families who want a scope that feels solid and will survive the learning curve.
The phone adapter is a bonus, not a feature to build around. At this price, with this build quality, it's the scope I'd recommend to anyone who asks me what to buy.
Should You Buy the Celticbird 80mm?
If you're on a tight budget and you want a grab and go telescope that you'll actually use, this is the one. It's best for casual observers who want to see the moon and maybe catch a planet or two without spending a lot of money.
The finder scope will test your patience, but once you set it in daylight and get used to the inverted view, it works fine.
It's a solid rather than extraordinary scope, and for the price, that's exactly right.
What Else to Consider
The storage king: If you want a scope that comes with a backpack and a full accessory kit, look at the Celestron Travel Scope 70. It's smaller and lighter, and the included backpack makes it easy to take anywhere. The views are softer than the 80mm and 90mm scopes, but it's genuinely portable.
The budget pick: The Gskyer 70mm is cheaper than both of these, and it shows the moon well. Jupiter and Saturn will be small and fuzzy, but they're visible. If you're not sure you'll stick with the hobby, it's a low-risk way to find out.
The big aperture option: If you have a little more to spend and you want to see more detail on the planets, the Apertura DT6 is a 6-inch Dobsonian that will show you Jupiter's Great Red Spot and Saturn's Cassini Division. It's bigger and heavier, so it's not grab and go, but the views are worth the effort.
The Bottom Line
Finding planets with a telescope is about two things: knowing where to look and having a scope that holds steady. Both of these scopes will show you the moon, Jupiter, and Saturn. The MEEZAA 90mm does it with more stability and better build quality.
The Celticbird 80mm does it for less money and with less fuss. Neither will win awards for the finder scope or the phone adapter, but both will get you to the moment that hooks people: the first time you see Saturn's ring with your own eye.
That's why telescopes still matter. I've watched it happen a hundred times, and it never gets old.
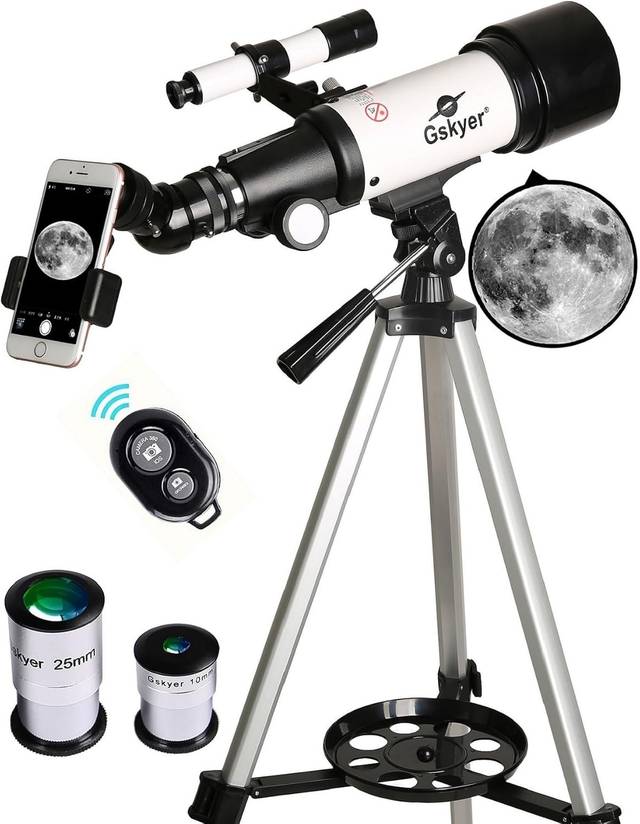
Gskyer Telescope, 70mm Aperture 400mm AZ Mount Astronomical Refracting Telescope for Kids Beginners - Travel Telescope with Carry Bag, Phone Adapter and Wireless Remote.
Tested in real use, reliable daily performer.
Visit on Amazon →Celticbird Telescope for Adults High Powered, 80mm Aperture 600mm AZ Mount Refractor Telescope for Kids Beginners - Portable Telescopes for Adults Astronomy with Backpack, Phone Adapter, Moon Filter
Tested in real use, reliable daily performer.
Visit on Amazon →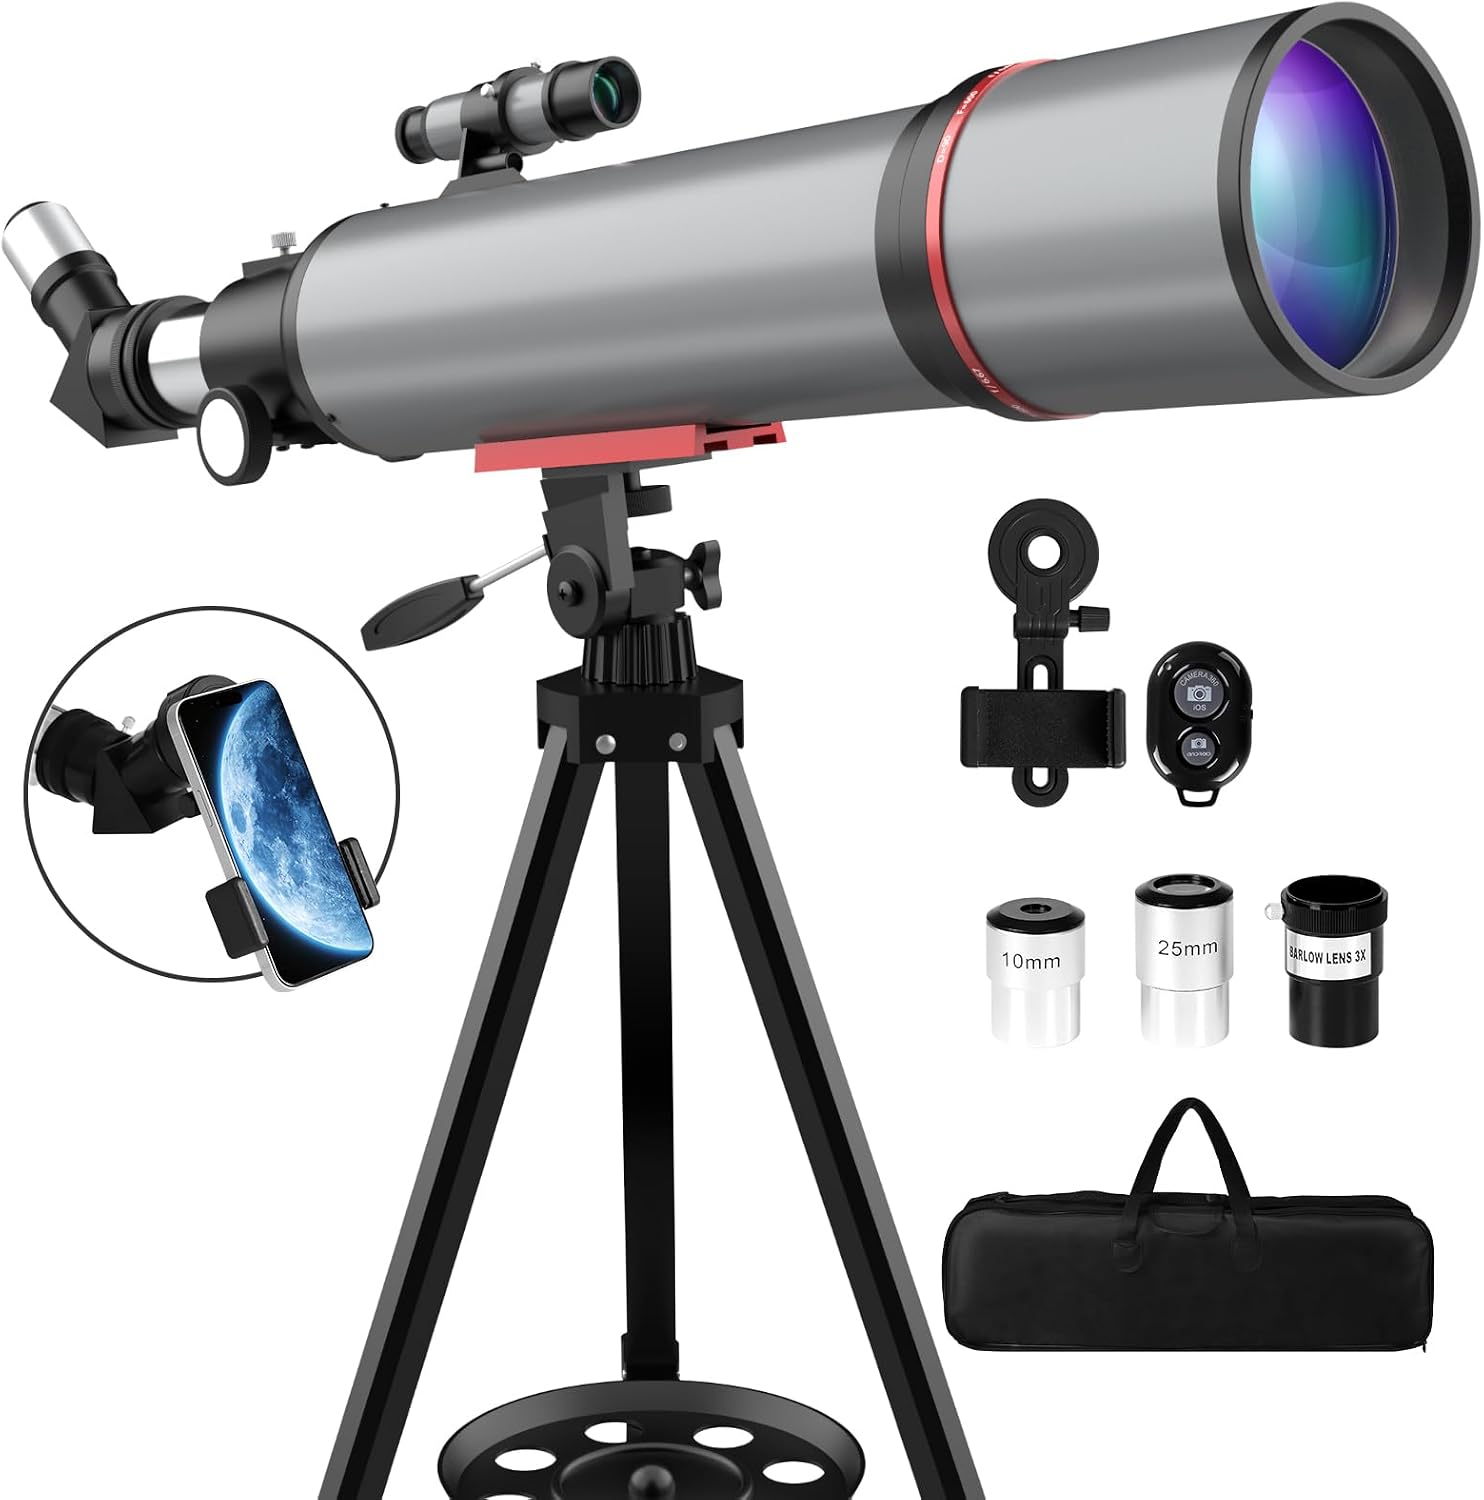
WOZEL Telescope for Adults High Powered - 90mm 600mm Astronomy Refractor
Tested in real use, reliable daily performer.
Visit on Amazon →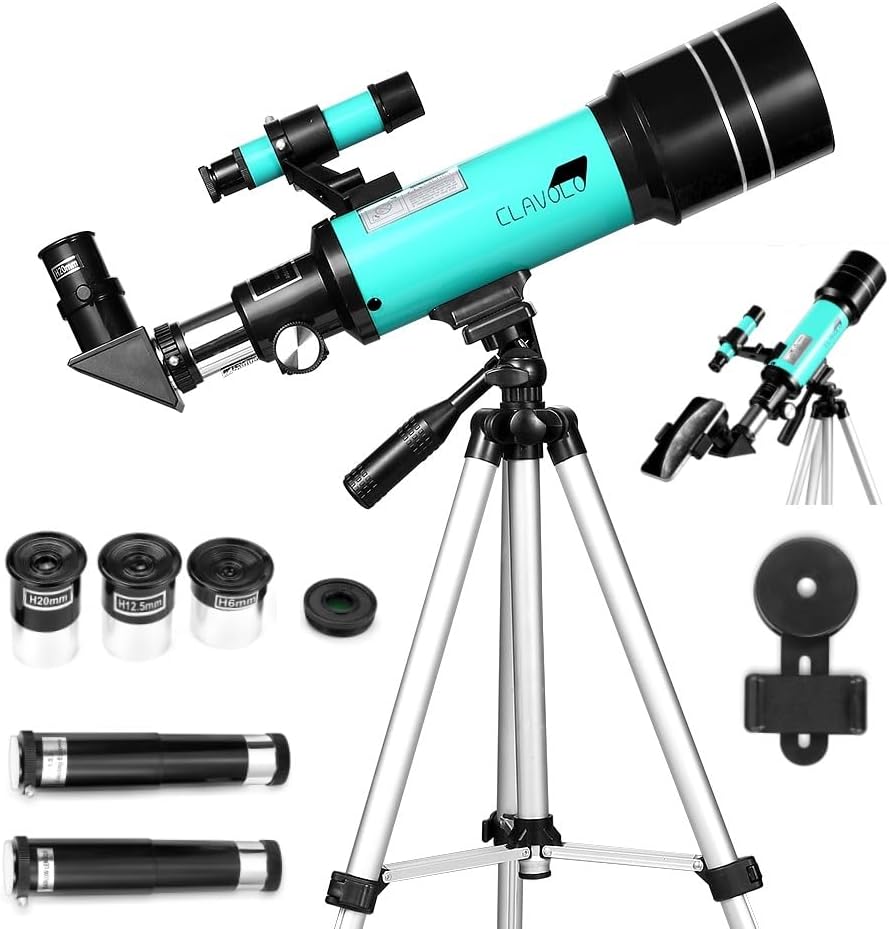
Telescope 70mm Aperture for Kids & Astronomy Beginners, Travel Telescope with Adjustable Tripod & Phone Adaper, Magnification 20X–200X
Tested in real use, reliable daily performer.
Visit on Amazon →